Your Browser Is No Longer Supported. Please use an alternative browser to improve your experience and security.
Intermediate Hand Lettering Techniques
When you’ve got a handle on the basic strokes and flourishes of hand lettering you may be wondering what it takes to take your work to the next level. Learning a few simple tricks and techniques can help you advance your skills and we’ve listed a few here that might make the difference:

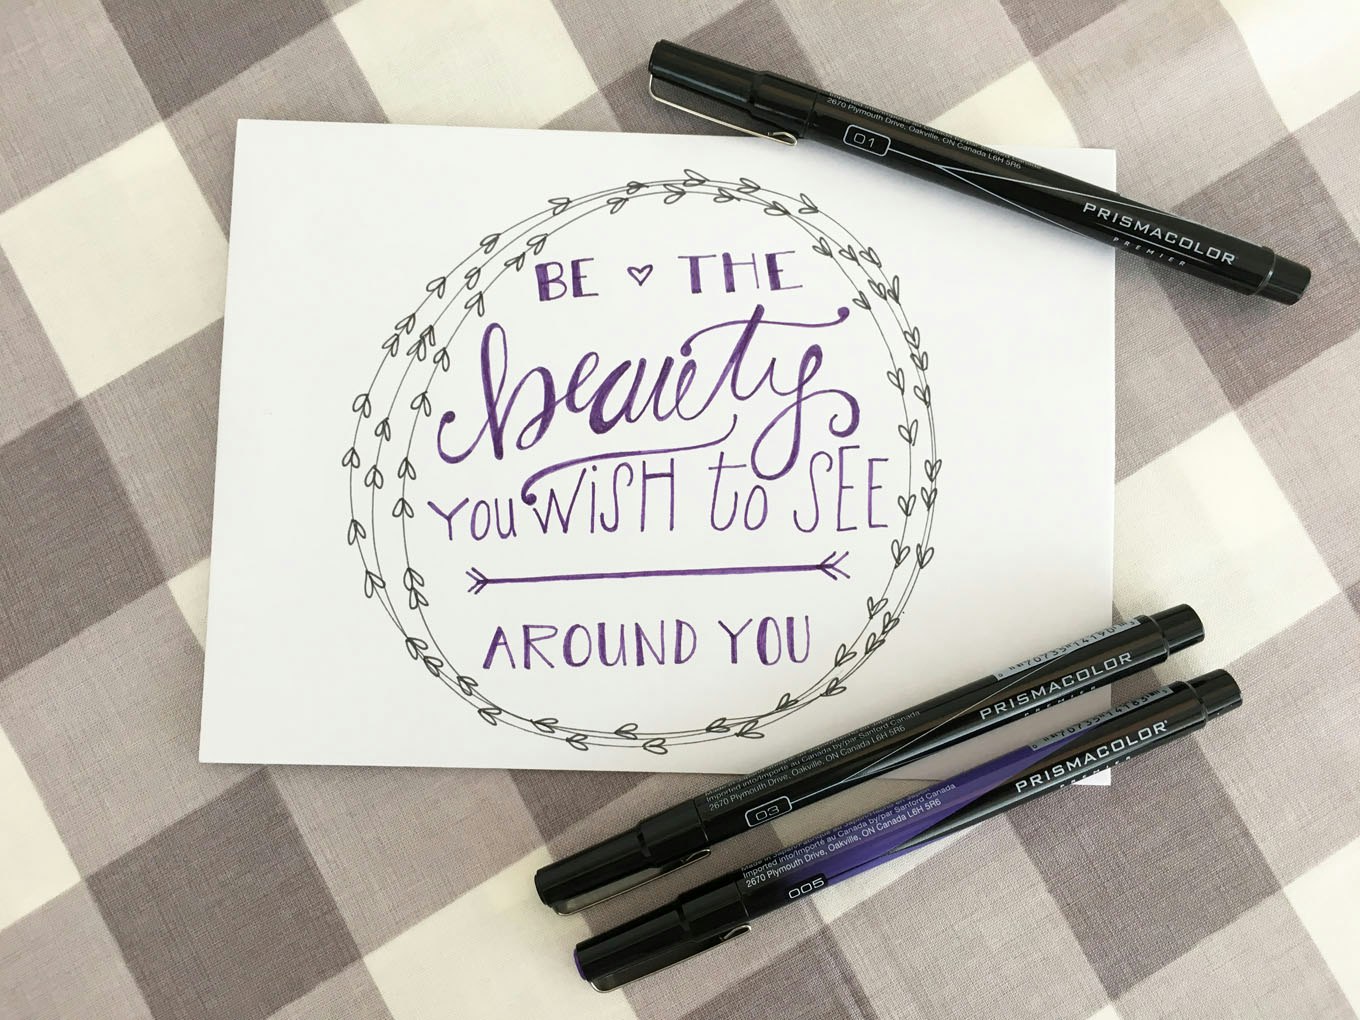
Have a variety of nib sizes on hand – Prismacolor Premier® Dual Ended Markers feature a fine point tip on one end, and either a brush tip or a chisel tip on the other. This gives you the flexibility to create thick, thin or varied lines as you hand letter.
The fine point tip allows for very precise lines. This provides the option of filling in individual letters with finer strokes, or creating a variety of embellishments and assorted doodles to accentuate the final piece.
The brush tip allows you to fluidly draw lines of varying widths depending on how much pressure you apply. Coloring and blending is easier, as the convenient design lets you switch between creating crisp details and laying down a variety of lines in one stroke.
The chisel tip is great for laying down washes of color when you’ve got a large negative space to fill. It’s also perfect for bolder strokes than you might achieve with a brush tip. You can also achieve multiple line widths with one nib: wide, medium-wide, and thin, for a darker border effect.
Use a pencil for your initial sketching, which won’t smear or smudge when erased.
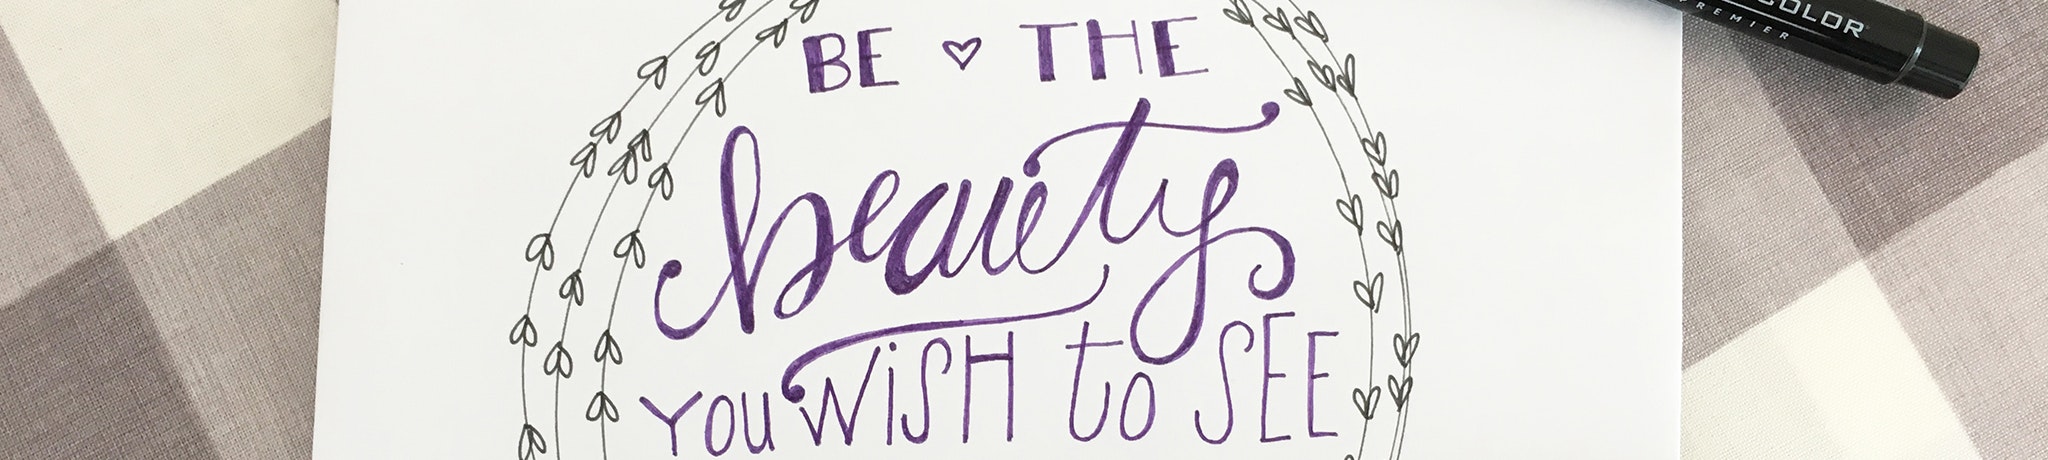
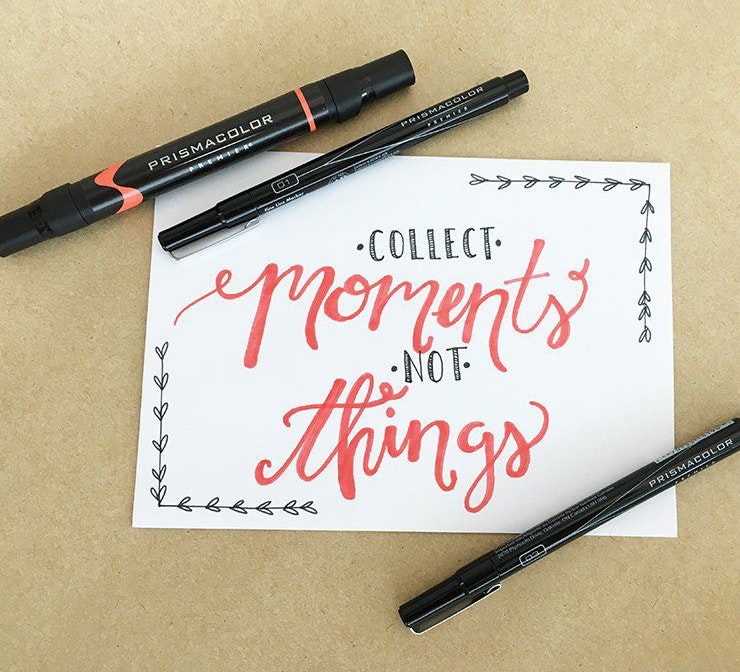
Adding borders - The simple addition of a patterned border around your design can add a nice touch, depending on the subject matter. Dotted lines, dashed lines, hearts, flowers or similar iconic drawings bring something extra to the words you’re illustrating.
Change it up - Thickening the left side of each letter works well in a variety of hand lettering styles, yet never feels cliché. This one trick will help you create the illusion of multiple fonts when it’s really only one.
Consider your workspace - Some artists lay a flat surface on top of the table or desk they are working at. This doubles as a smooth surface to keep your loops and flourishes even and as protection for your table so streaks can happen without making a mess.
If you haven’t explored our article about mastering flourishes and loops, you can find it here.