Your Browser Is No Longer Supported. Please use an alternative browser to improve your experience and security.

Beginner Hand Lettering Techniques
Hand lettering is enjoying unprecedented popularity as a creative alternative to computer-generated fonts or handwriting. Rather than being seen as a trend, the potential for endless personalization has caught the eye of the larger design world. From wedding invitations to wall canvases, hand lettering has been taking over homes and Instagram feeds alike.
As someone looking to improve your lettering technique, learning the flourishes and embellishments will help you further develop your personal lettering style and create more polished lettering pieces.
Prismacolor Dual-Ended Brush Art Markers feature both fine and brush tips. The fine point lays down sharp lines while the brush is designed for creating thick, thin, or varied lines in one stroke.
Learning the techniques of upstroke/downstroke motions, spacing, kerning, composition and process from initial concept to near completion are the foundation. Flourishes add that final touch, but only if the other elements are in place.
Understanding Balance
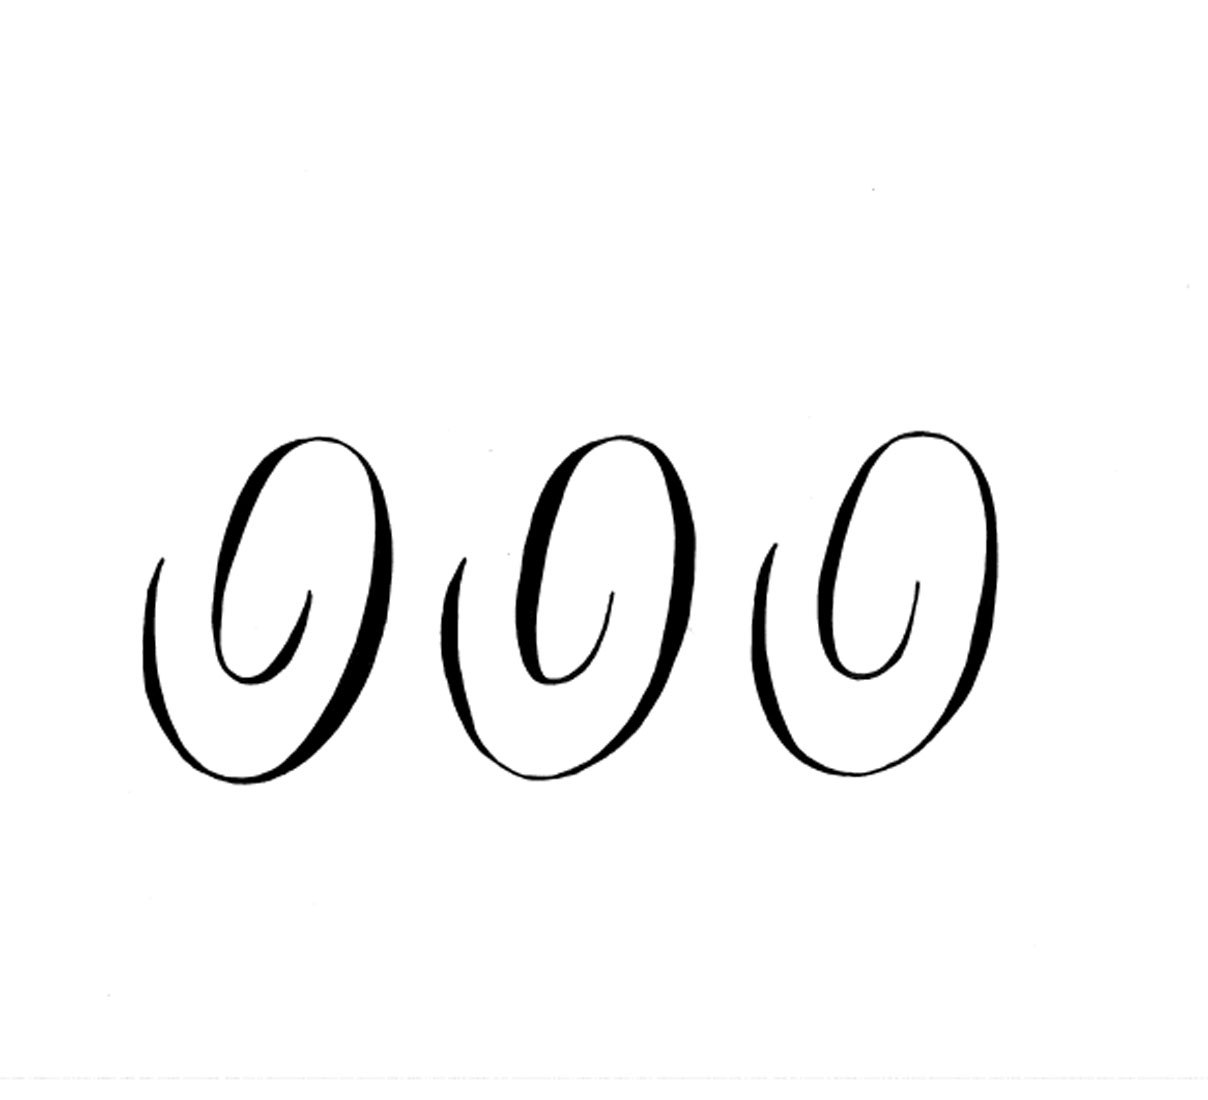
Flourishing requires balance throughout, as it creates both positive and negative space. Start with the spiral flourishes below. Drag the image below to your desktop and print it out, then begin tracing over it until it becomes second nature. This exercise is important in perfecting the thick and thin areas of your flourish.
Overlapping Lines
While hand lettering differs from formal writing in many ways, there are still rules to follow. The sections of the brush stroke with heavier weight should only cross over lighter weight sections. Two heavier weight sections overlapping can make the loop look off balance. Remember to balance positive and negative spaces.
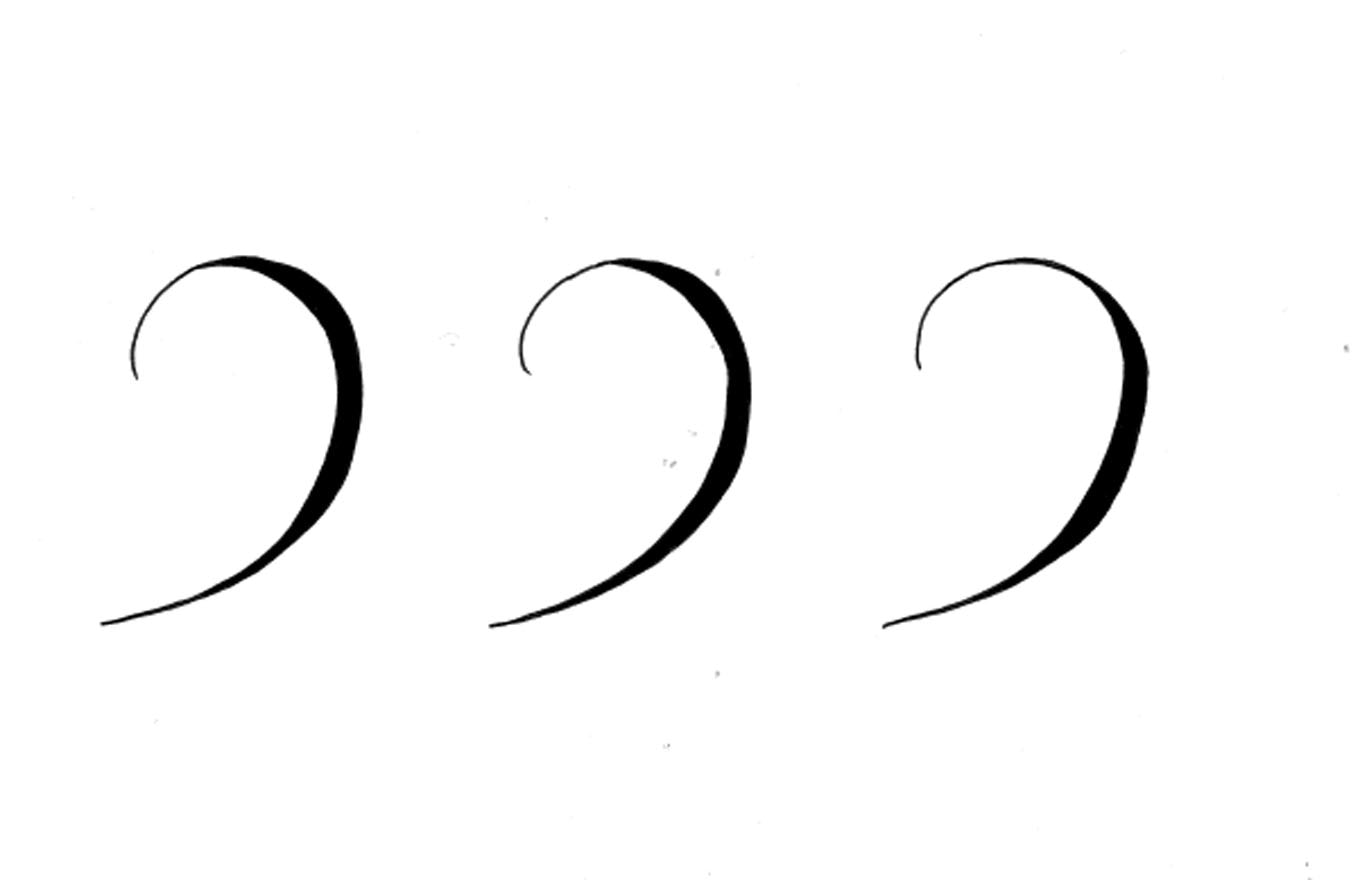
Curves
Some call this the tail, or "reverse E" stroke. Pay attention to the uniformity of this stroke. While individual letters can vary as needed, keeping basic strokes like this consistent keeps the overall composition more organized.
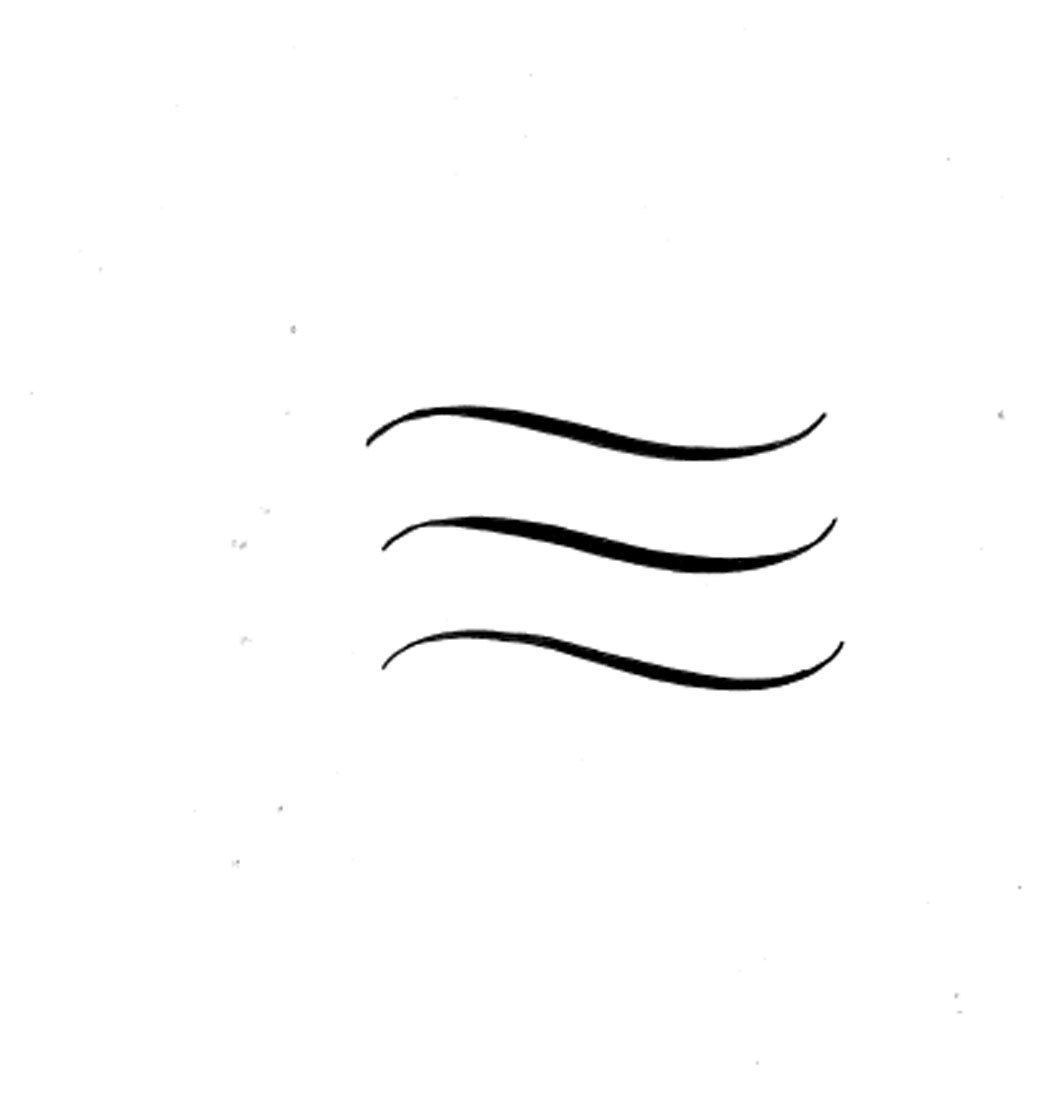
The S-Curve is as much about the slight increase in height as it is the subtle appearance of bolder sections. S-curves can be long or short, but they often fit into an empty space, so balance is crucial.
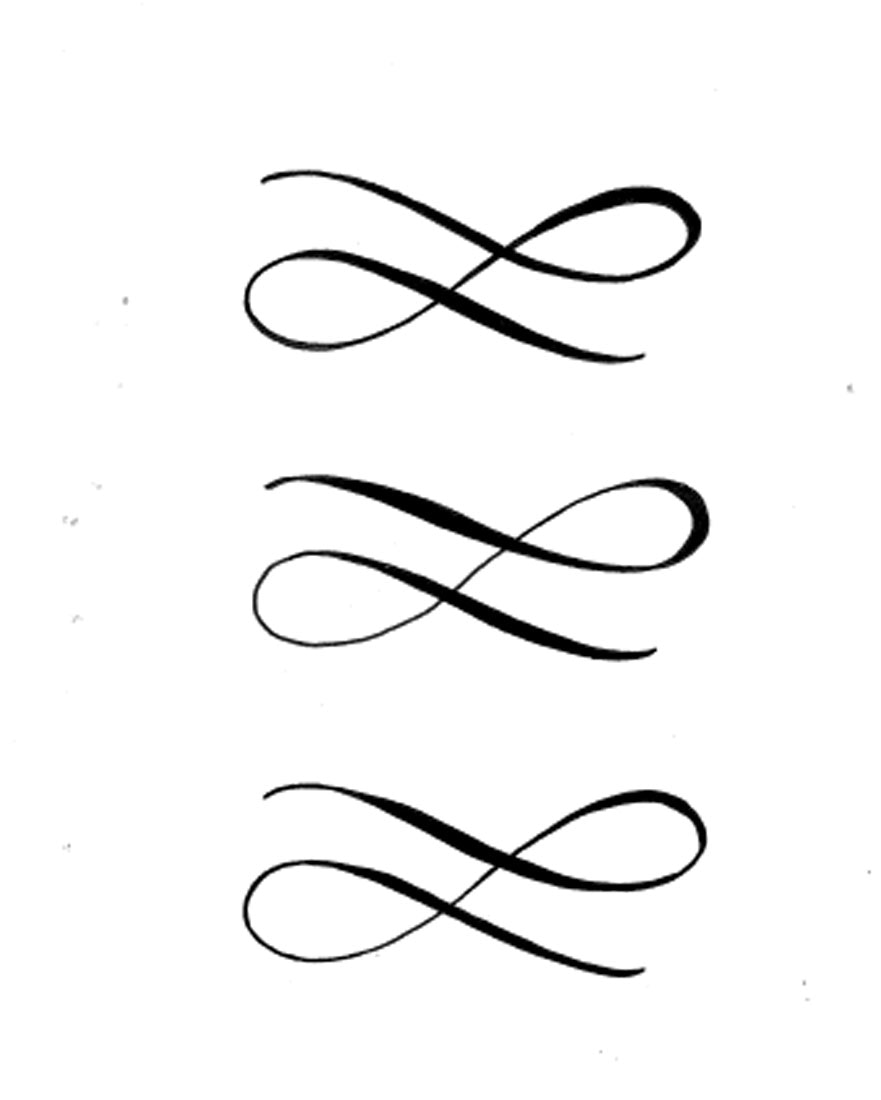
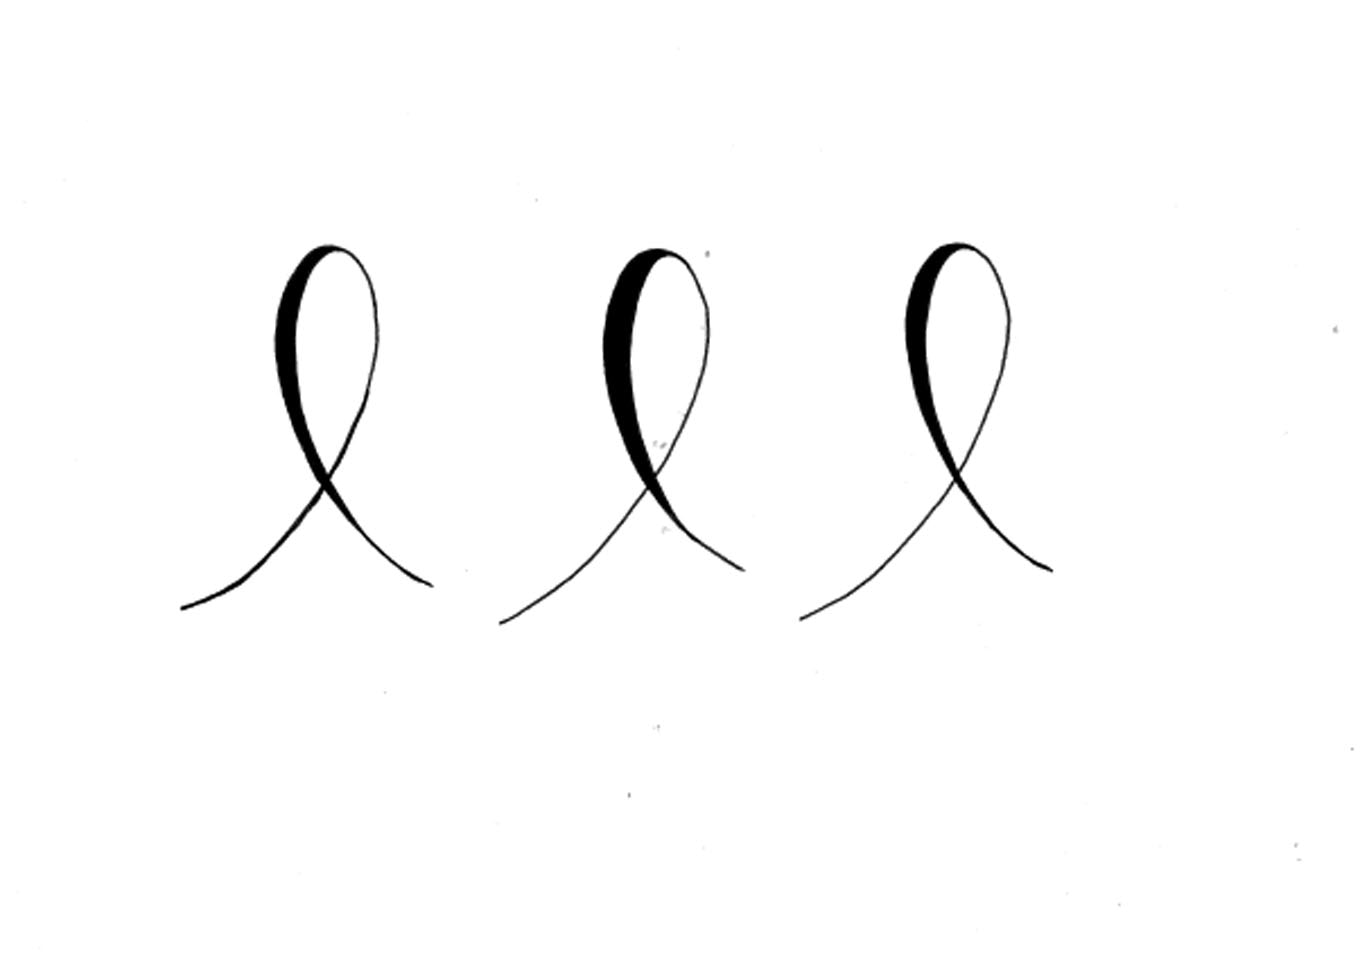
The Figure 8
This stroke requires thicker lines to intersect thin ones. Loops in this stroke should be mirror images, but the thickness of the lines can vary.
Apply these strokes to your next composition for a professional look, and keep on practicing!