Your Browser Is No Longer Supported. Please use an alternative browser to improve your experience and security.

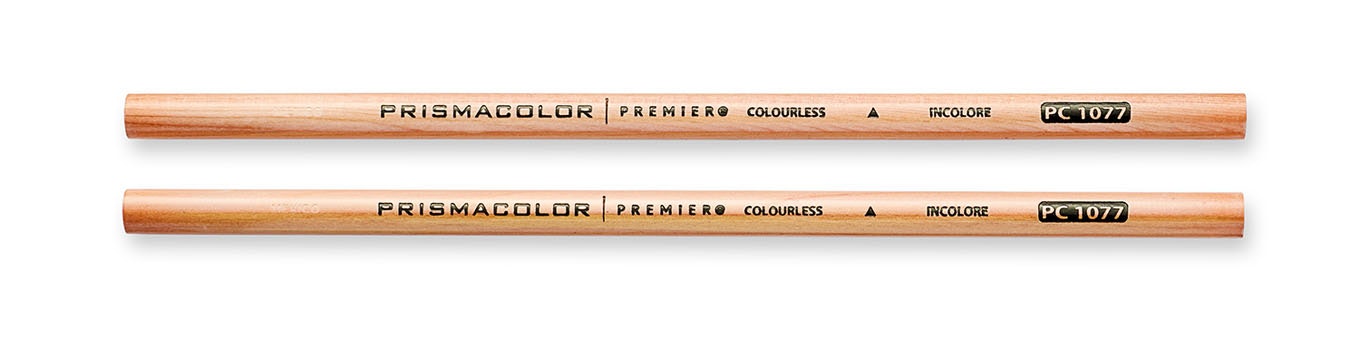
Colorless Blender Pencils
Prismacolor colorless blender pencils are ideal for artists looking to enhance their colored pencil artwork. They blend in the same way color pencils do, as they contain the same wax and binder, but no pigment is added. The result is a multi-faceted tool that allows artists to accomplish several effects, like merging neighboring colors, softening edges, and creating unique color blends. Technique is important, and we’ve shared a few tips on how to make blending work for you:
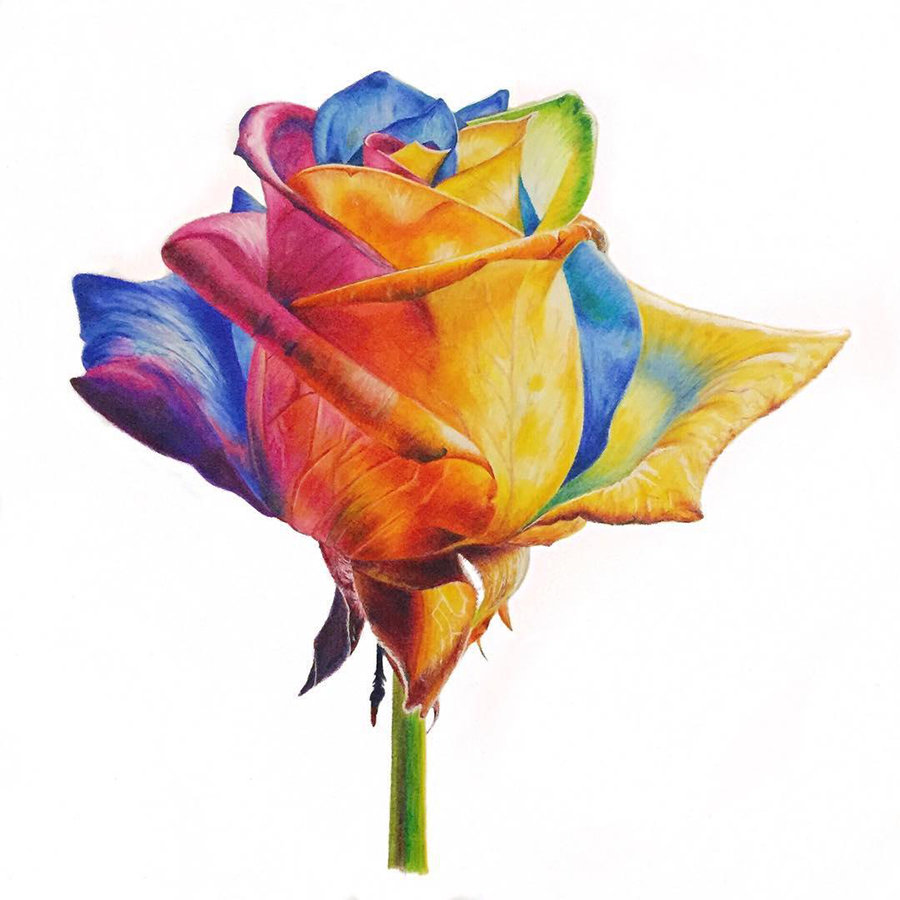
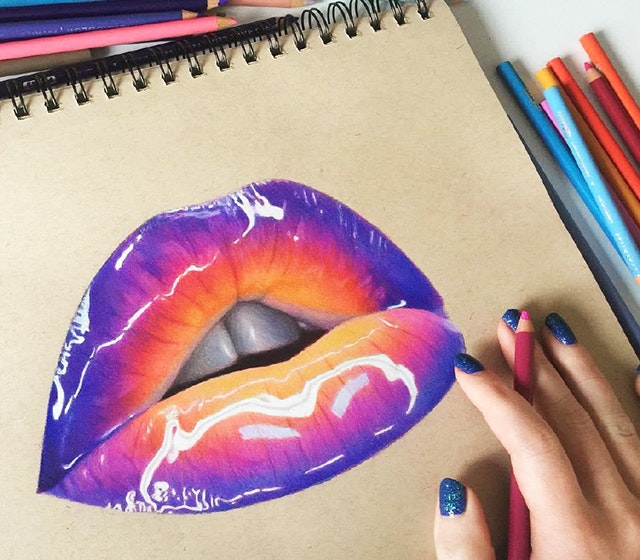
Ombre Effect - Create a shading effect by overlapping your colors using the pencil blender over the entire colored section. Drawing in circular or oval patterns keeps hard lines from forming when you first apply color, allowing blending to be more successful.
Burnishing - Although it’s tempting to apply heavy pressure in order to drive layers of pigment together, it leaves your drawing with a waxy buildup. Using light pressure instead allows you more control over the amount of wax the blender leaves behind.
The sharper the better - Keeping your blender tip sharpened will naturally make you use less pressure in order to avoid breaking the tip. If you must use heavy pressure, use a worn pencil that allows you to burnish with greater force. Always take caution not to tear the paper.
Color first, then blend - It’s best to lay down all your color first and then blend. The more times you try to blend and then color, the more stubborn each additional application of pigment will be because every time you blend, you force more color into the tooth.
Blending with Colorless Blenders - Prismacolor Premier® Colorless Blender Pencils are pigment-free and its wax-based cores allow you to blend and soften your drawing without affecting your color palette. Lay down thick textures, create uniquely vivid blends and soften hard edges. Although they are typically used with Prismacolor Premier® Soft Core Colored Pencils, they can also be used with Prismacolor Premier® Watercolor Colored Pencils for creating liquid effects and textures.